
Apple Jam Recipe: How to Turn Soft Apples Into Rich Homemade Jam
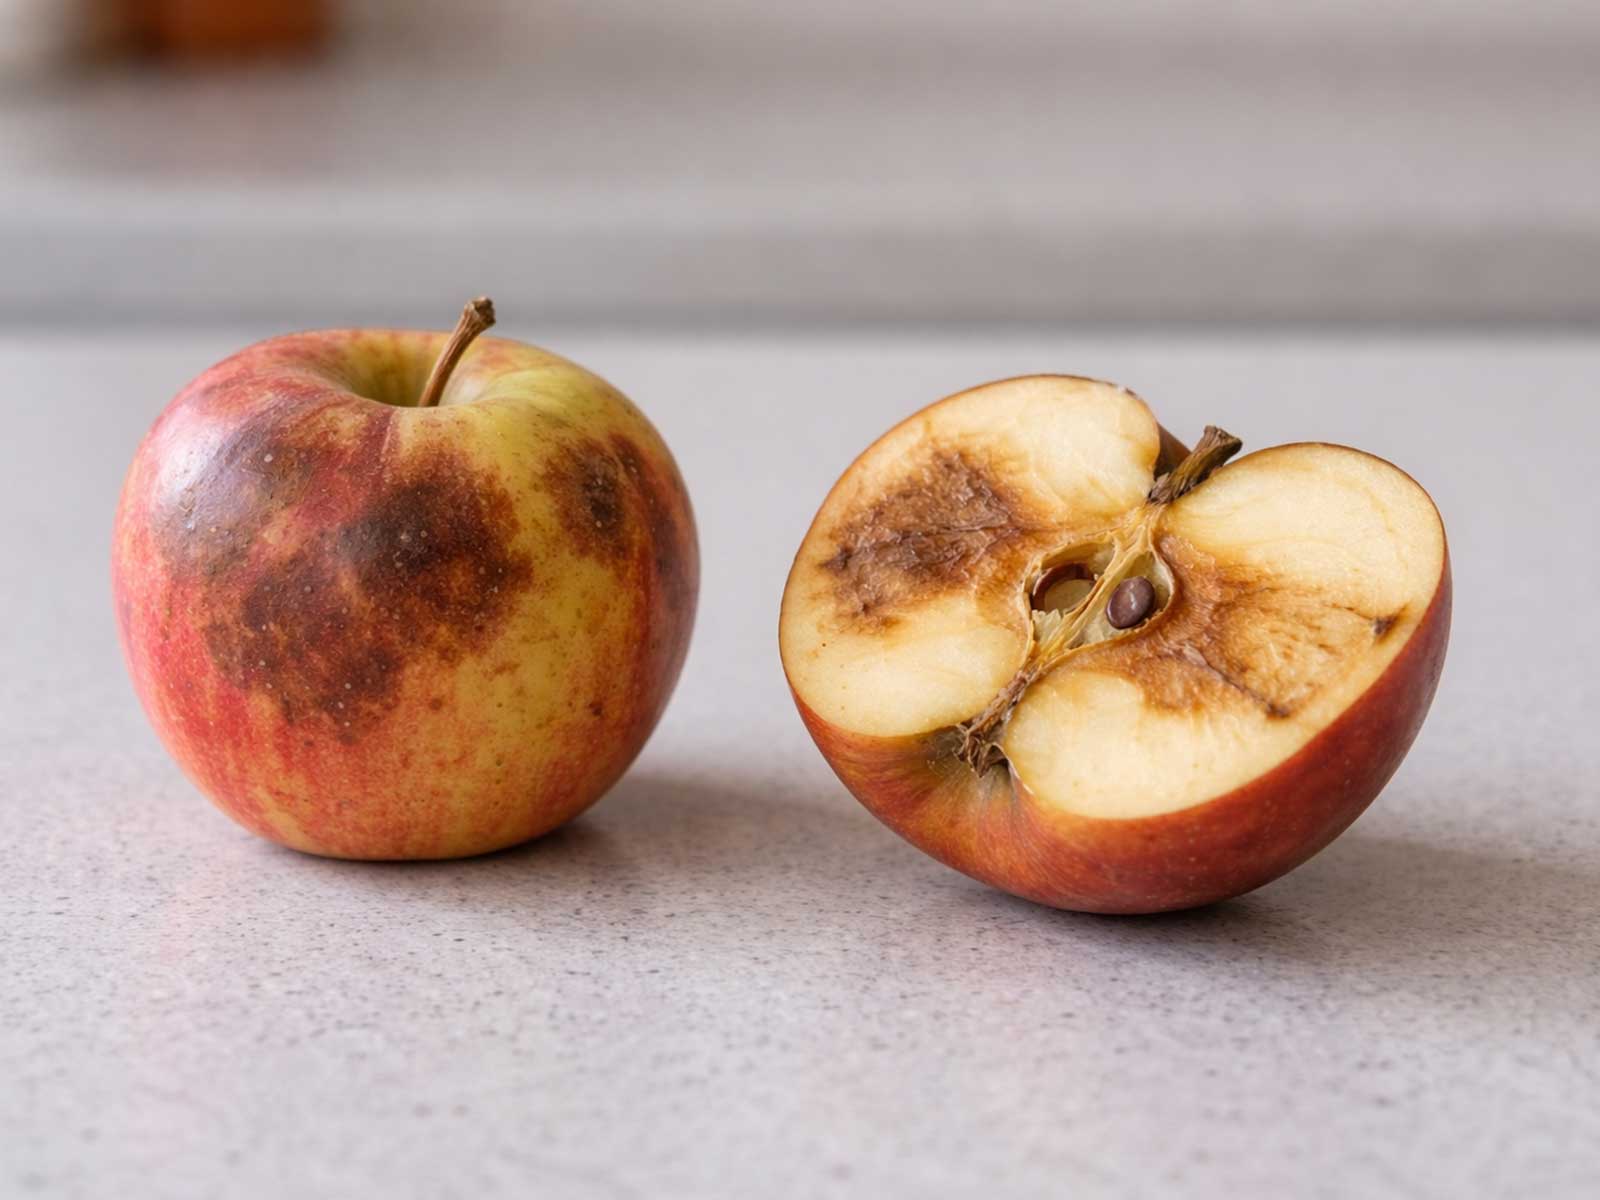
Bruised apples are one of the most commonly wasted fruits at home. The moment they develop brown spots or start to soften, they are often left at the bottom of the fruit bowl or thrown away. Most of the time the apple is still perfectly safe to eat but its appearance changes how we judge it as we tend to associate firmness and smooth skin with freshness.
When apples begin to soften, their structure naturally breaks down. This actually makes them ideal for cooking. Once trimmed properly and simmered with sugar and lemon, bruised apples release their juices more easily and cook down faster than very firm fruit. The sugars concentrate as they reduce, the flavour deepens and the final texture becomes smoother without much effort. Instead of struggling to soften hard apple pieces, the fruit works with the process.
Jam is one of the simplest ways to see this transformation clearly. A fruit that might have been ignored becomes a rich spread that tastes fuller and more balanced. The lemon brightens the sweetness, the sugar enhances the natural apple flavour and the gentle simmer pulls everything together. What started as something overlooked turns into something you would happily spread on toast or stir into yogurt.
This reflects the idea behind From Bin to Win and Snibbl. Small shifts in how we see and use food can prevent unnecessary waste while creating something genuinely enjoyable. A bruised apple sitting in the kitchen is not a problem to discard but an opportunity to cook differently and make better use of what is already there.
1. How to Make Apple Jam Using Bruised Apples (Small-Batch Method)
If you’re searching for how to make apple jam properly, the key is controlled simmering and balancing sweetness with acidity.
Prep time: 10 minutes
Cook time: 20–25 minutes
Yield: 1 small jar
Heat level: Low to medium
Ingredients:
- 2–3 bruised apples (trimmed thoroughly)
- 3–4 tablespoons sugar (adjust to taste)
- 1–2 teaspoons lemon juice
- 2–3 tablespoons water (only if apples are not releasing enough juice)
- Optional: pinch cinnamon or salt
Method:
- Trim properly first Cut away all bruised and darkened areas completely, removing slightly more than just the visible brown patch to ensure no oxidised flesh remains. According to the UDSA, mold can spread invisibly beneath the surface. So if you see any signs of mold, discard the entire apple. Use only fruit that smells fresh and mildly sweet. Bruising alone is fine; spoilage is not.
- Dice small for even cookingChop the apples into small, evenly sized pieces so they cook at the same rate. Uneven chunks can lead to some parts overcooking while others stay firm. This also allows the sugar and lemon juice to coat the fruit more evenly from the start.
- Combine and start lowAdd the chopped apples, sugar and lemon juice to a heavy-bottomed saucepan. Begin cooking on low heat to allow the sugar to dissolve gradually into the fruit’s natural juices without scorching at the base. Stir gently as the mixture warms. Starting low prevents caramelisation too early in the process and helps the apples soften evenly before thickening begins.
- Let the apples release moisture Within 5–7 minutes, the apples will begin to soften and release their natural juices. You’ll notice the mixture becoming slightly glossy and looser in texture. Stir occasionally to prevent sticking, especially along the bottom edges of the pan. If the apples seem too dry at this stage, add a small splash of water (just enough to encourage gentle simmering without diluting the flavour).
- Simmer until thickIncrease the heat slightly to medium-low and allow the mixture to simmer steadily for 15–20 minutes. The jam should bubble gently, not boil aggressively, as rapid boiling can cause uneven thickening or caramelisation. Stir every few minutes to ensure nothing sticks or burns. As the apples fully break down, mash lightly with the back of a spoon for a textured jam or blend briefly for a smoother finish. The mixture should look glossy and cohesive rather than watery.
- Check consistencyDrag a spoon or spatula across the base of the pan. If the jam slowly closes the gap and leaves a visible trail for a few seconds before settling, it has reached the right consistency. Remember that jam thickens further as it cools, so avoid overcooking. Once done, remove from heat and allow it to cool completely before transferring to a clean jar. Store in the refrigerator and use within 7 days for best flavour and freshness.
This base apple jam recipe works for all major variations.

2. Apple Jam Variations: Cinnamon, Spiced & No-Sugar-Heavy Versions
Once the base method is right, you can easily customise depending on what you have:
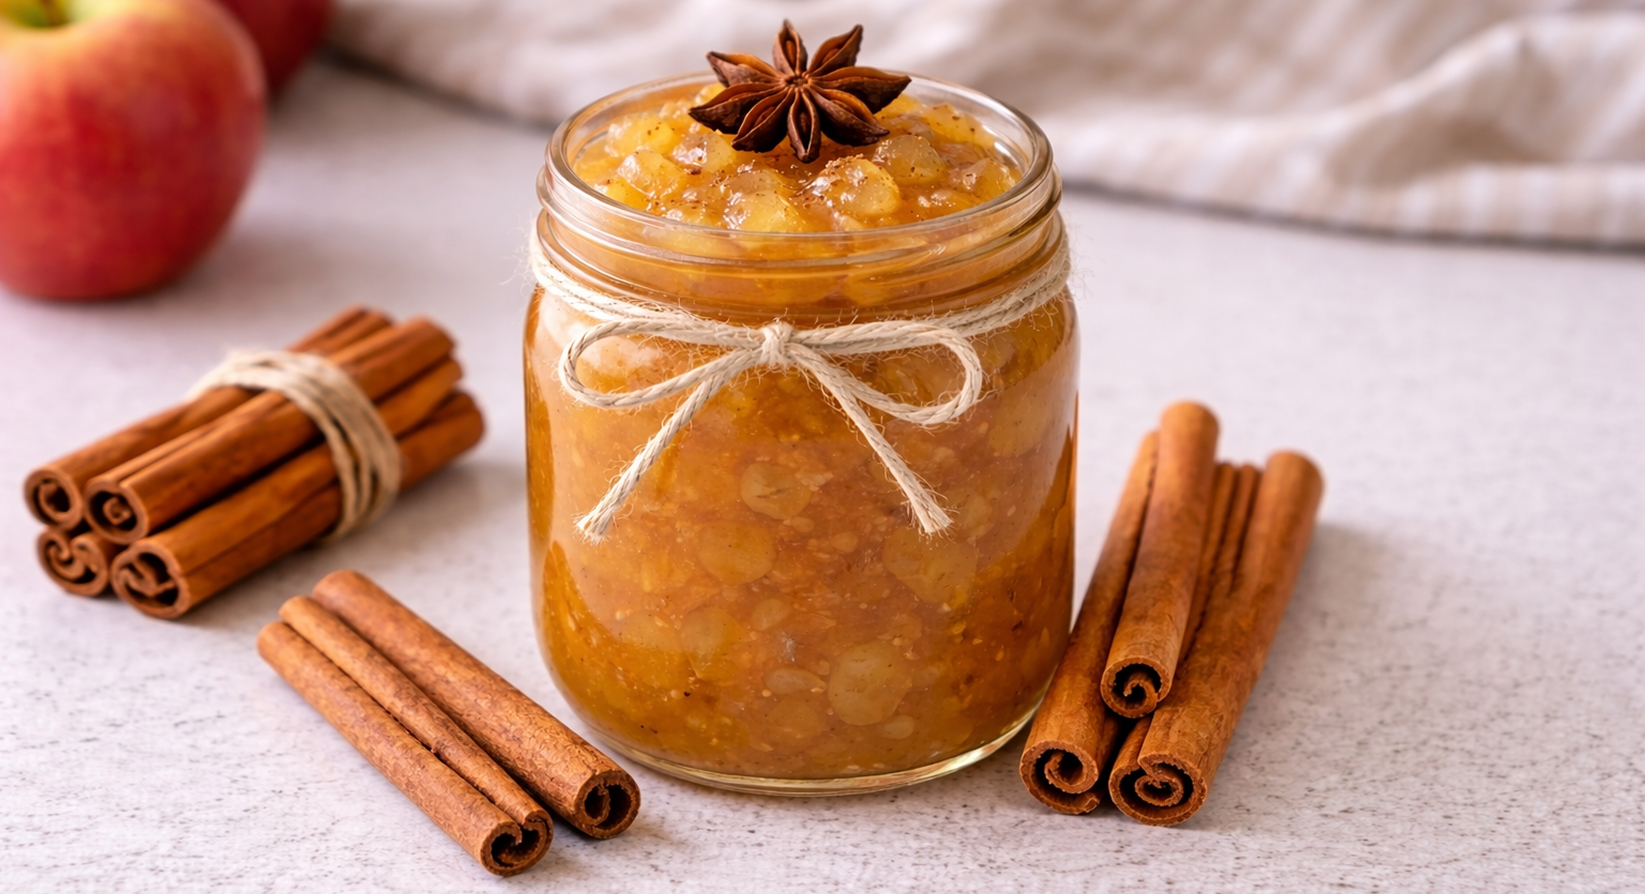
Cinnamon Apple Jam
Add ¼ teaspoon cinnamon during simmering and allow it to cook gently into the fruit so the spice infuses fully rather than sitting on top. Cinnamon enhances the natural sweetness of softened apples and gives the jam a warmer, dessert-style flavour that pairs especially well with toast, pancakes or yogurt.
Salted Apple Jam
Add a small pinch of salt toward the end of cooking to deepen the sweetness and balance the acidity from the lemon juice. The salt won’t make the jam taste salty; instead, it sharpens the apple flavour and creates a more rounded, slightly caramel-like finish.
Chunky Texture Version
Mash the apples lightly with the back of a spoon instead of blending them smooth, allowing small, soft pieces to remain throughout the jam. This creates a rustic texture that feels homemade and works especially well spooned over oatmeal, spread on warm bread or layered inside pastries.
Apple Compote Style (Lower Sugar)
Reduce the sugar slightly and shorten the cooking time so the apples stay softer and more spoonable rather than thick and set. This version works better as a topping for pancakes, yogurt or ice cream, offering a lighter, less concentrated sweetness while still preventing food waste.
3. From Bin to Win: Why Bruised Apples Make Better Jam
Bruised apples often have higher surface sugar concentration because their cell walls have already begun breaking down. This natural softening means:
- They cook faster
- They break down more smoothly
- They release juices more easily
- They develop deeper caramelised notes when simmered
Firm, fresh apples are ideal for slicing. Softened apples are ideal for cooking. What looks like decline is actually structural readiness for transformation.
From Bin to Win cooking isn’t about using spoiled food. It’s about recognising when food is still safe but simply less aesthetically perfect. Just as leftover rice becomes ideal for fried rice, bruised apples become ideal for jam. Snibbl is built on this same principle: helping food find its second purpose before it becomes waste.